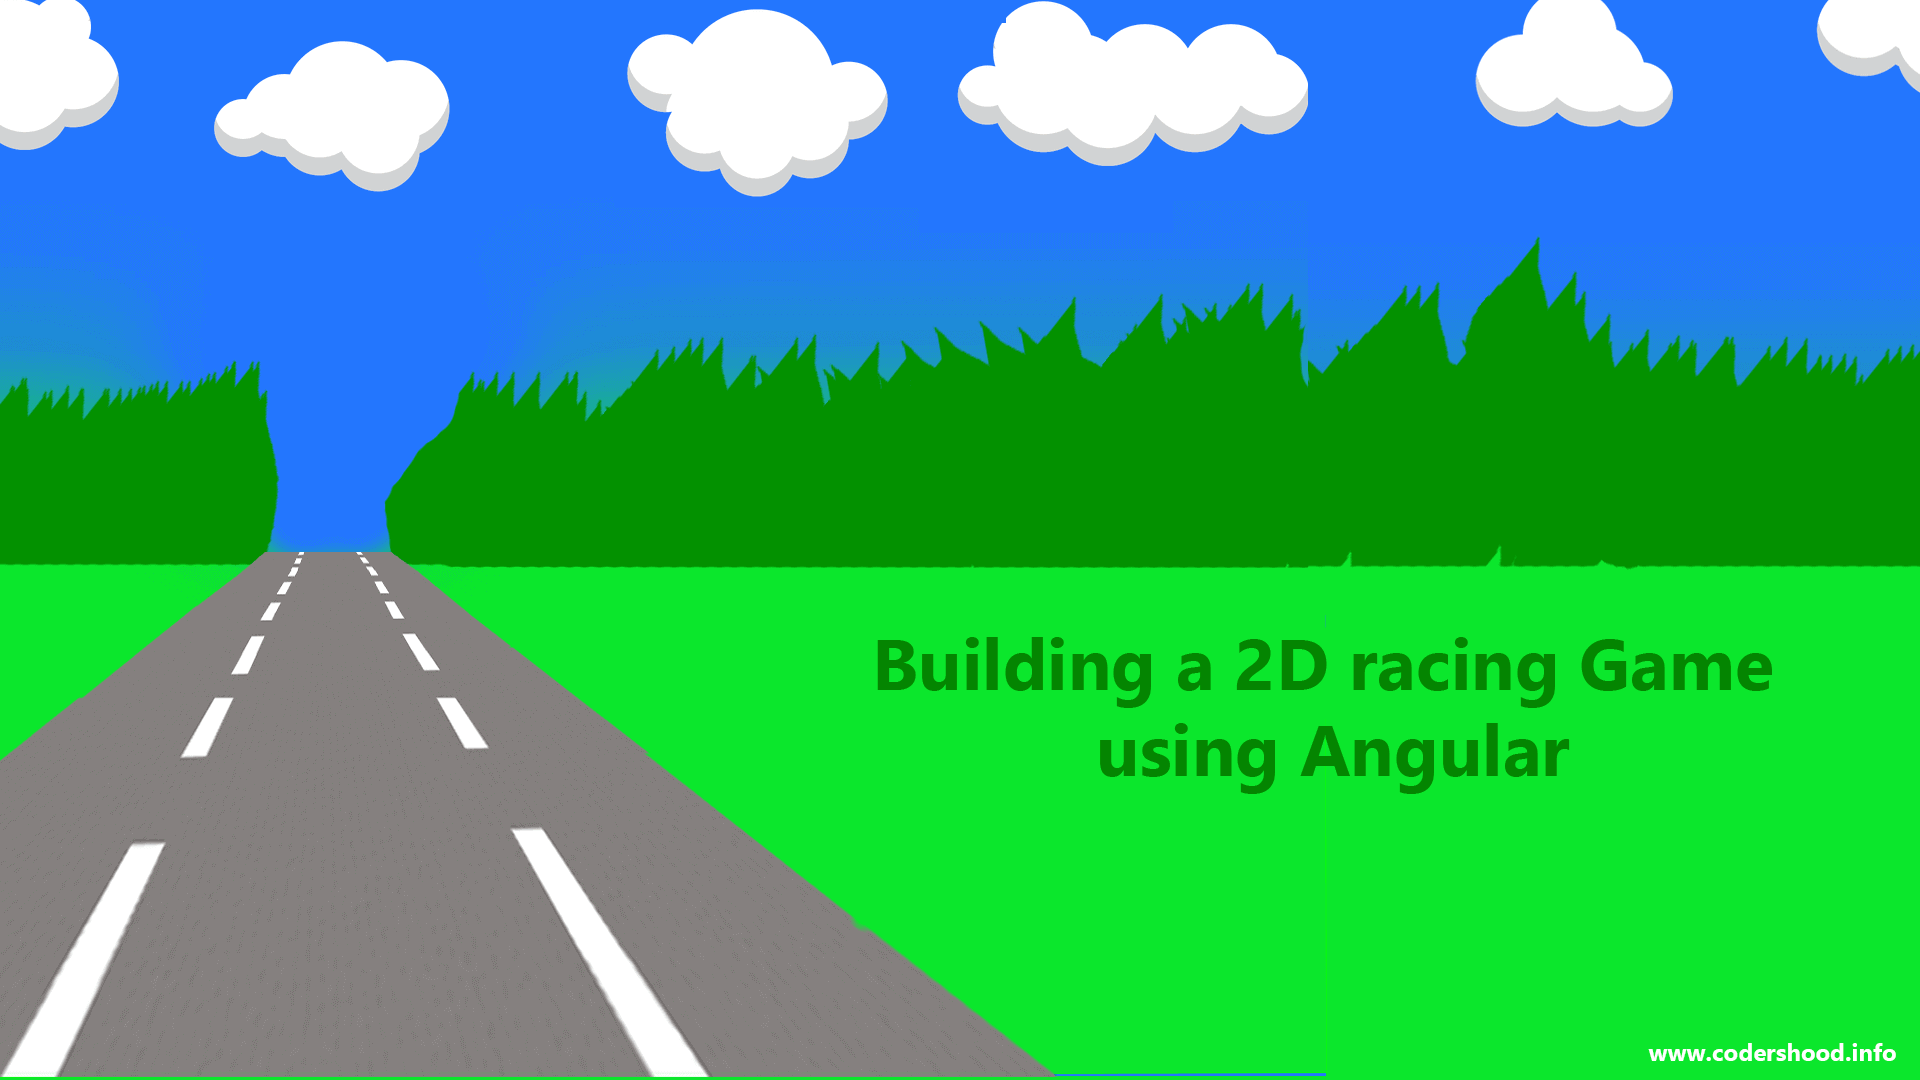
A few weeks ago I published an article onBuilding a Real-time Tic-Tac-Toe game using angular, creating that game with Angular has been a delight. So It got me thinking that how about writing a Canvas game using Angular and therefore I created a small Racing game in Angular. As the Page title propounds, we will implement 2D racing Game using Angular in this article. Personally, for me it was fun to implement this game, I hope you will also find it interesting.
Before implementing anything, I assume that you have a prior knowledge of Javascript,AngularandAngular CLI. If are new to Angular browse all theAngular courses, we have some of the coolest articles in Angular. Okay now let’s get to work, first, we will start with the Angular Project setup.
Thanks to Sujit Yadav for providing beautiful vehicle sprite image. If you are Game developer make sure you check out his blog.
1. Setting up our Application
Let’s use Angular CLI to setup our application. If you don’t have Angular CLI installed on your machine run the below command to install it globally.npm install -g angular-cli
After Angular CLI installation, to create a new Angular project Run below command. This command will create all the necessary files, download all the required external dependencies and do all of the setup work for us.
ng new AppName
2. Directory structure and Project overview
Let’s create Project directories and files required to run the application. The below-shown image is replicating the directory structure and files created in this application.
Inside the/appfolder, we have three folders named as/config,/interfaces, and/servicesrest the files generated by the Angular CLI.
=>Inside/configfolder, we will create a/config.jsfile which will hold all the static values.
=>Folder/interfacesneed no introduction.
=>Inside the folder/services, we will create two filesapp.service.tsandgame.service.ts. Each of the files will do individual work in building the racing game using angular is listed below,
app.service.ts: Here we will initialize the game and we will control the user input.game.service.ts: This file will take care of all canvas related operation and renders the Game on the webpage.

3. Building Racing Game using Angular
Till now we have created all the files and did the project setup, now let’s get to the development. Here we will divide the development of this game into different parts, which are listed below. Each part will cover the unique concepts in building Racing Game using Angular.
- Game assets and Game background.
- Loading assets and Creating Game background.
- Creating obstacles and Moving them onto the Racetrack.
- Creating the player and Rendering it to the Canvas.
- Handling the User input.
- Detecting the Crash with obstacles.
4. Game assets and Game background
Now it’s very important that before the user starts playing your game, the game should load it’s assets such images audio and font so on.
=>In our game, we will need a simple sprite which will have all the Game objects a shown below.
=>As you can see in the below image we have different cars and trucks, which we will render on our screen.
=>To render these vehicles we will use thedrawImage()function of canvas programming. If you are not familiar with please make sure you check it.
![]()
=>Also, in order to render these vehicles by using thedrawImage()function, we must the know thesXandsYof each vehicle along with the height and width of it.
=>So I have already created a configuration file, where we will store all our predefined values. This file lives in the/configfolder, create a config.ts and write down the below code,
config.ts:
/**
    Building a 2D racing Game using Angular
    @auther Shashank Tiwari
*/import { SingleObstacles } from './../interfaces/single-obstacle';

export const playGroundHeight = window.innerHeight;
export const playGroundWidth = 500;
export const frameNumber = 0;
export const spritePath = '../assets/img/sprites.png';
export const playerCarSpeed = 5;
export const playerCar = {
sX: 410,  // Black Viper car
sY: 265,
sWidth: 64,
sHeight: 135,
width: 40,
height: 90,
};
export const vehicles: SingleObstacles[] = [
{
sX: 35, // Green car
sY: 265,
sWidth: 68,
sHeight: 135,
width: 40,
height: 90,
}, {
sX: 100,  // Black car
sY: 269,
sWidth: 64,
sHeight: 135,
width: 40,
height: 90,
}, {
sX: 161,  // Yellow car
sY: 265,
sWidth: 64,
sHeight: 135,
width: 40,
height: 90,
}, {
sX: 225,  // Red car
sY: 268,
sWidth: 64,
sHeight: 135,
width: 40,
height: 90,
}, {
sX: 287,  // Blue car
sY: 271,
sWidth: 64,
sHeight: 135,
width: 40,
height: 90,
}, {
sX: 348,  // Red Audi car
sY: 270,
sWidth: 64,
sHeight: 135,
width: 40,
height: 90,
}, {
sX: 476,  // Orange car
sY: 265,
sWidth: 62,
sHeight: 135,
width: 40,
height: 90,
}, {
sX: 543,  // Texi
sY: 265,
sWidth: 64,
sHeight: 135,
width: 40,
height: 90,
}, {
sX: 610,  // Police
sY: 265,
sWidth: 64,
sHeight: 135,
width: 40,
height: 90,
}, {
sX: 605,  // Sky Blue truck
sY: 0,
sWidth: 80,
sHeight: 160,
width: 60,
height: 120,
}, {
sX: 460,  // Ambulance
sY: 0,
sWidth: 75,
sHeight: 160,
width: 60,
height: 120,
}, {
sX: 531,  // MiniVan
sY: 0,
sWidth: 70,
sHeight: 160,
width: 45,
height: 140,
}, {
sX: 368,  // Truck
sY: 0,
sWidth: 90,
sHeight: 220,
width: 60,
height: 140,
}, {
sX: 190,  // Orange Trailer
sY: 0,
sWidth: 70,
sHeight: 260,
width: 55,
height: 200,
}, {
sX: 285,  // Blue Trailer
sY: 0,
sWidth: 70,
sHeight: 260,
width: 55,
height: 200,
}
];
5. Loading assets and Creating Game background
Now to load it we will write some code, to start with open the app.component.html and write down below code,
app.component.html:
<!--
    Building a 2D racing Game using Angular
    @auther Shashank Tiwari
-->
<div class="loader" [hidden]="!showLoader">
    <div class="message">
        <i class="fas fa-spinner fa-spin"></i>
        <h2>Loading</h2>
    </div>
</div>
<canvas #canvas class="play-ground"></canvas>
As you can see in above we have written the two Blocks of markup. The first block is Loaderdivbasically this markup will render the overlay loading screen till the Image is getting loaded. Then in the second block, we havecanvastag itself.
=>By convention, We will write all our Javascript/Typescript Logic inside services, but to trigger that we have to tell them, that you are ready to ready to download game assets.
=>So in order to this, we will use our component class as always, and we will call our services.
=>Open the app.compoent.ts and write down the below code,
app.component.ts:
/**
    Building a 2D racing Game using Angular
    @auther Shashank Tiwari
*/import { Component, ElementRef, AfterViewInit, ViewChild } from '@angular/core';
import { AppService } from './services/app.service';
import { GameService } from './services/game.service';

@Component({
selector: 'app-root',
templateUrl: './app.component.html',
styleUrls: ['./app.component.css'],
})
export class AppComponent implements AfterViewInit {

@ViewChild('canvas') public canvas: ElementRef;
subscription: any;
showLoader = true;

constructor(
private appService: AppService,
private gameService: GameService
) {}

public ngAfterViewInit() {
const canvasEl: HTMLCanvasElement = this.canvas.nativeElement;
this.appService.createPlayGround(canvasEl);
this.subscription = this.appService.getImageLoadEmitter()
.subscribe((item) => {
this.showLoader = false;
this.gameService.startGameLoop();
});
}
}
Explanation:
- In the above code, we have used Event emitter to get updates from the
AppServiceclass. - The first thing we are doing is, calling the
createPlayGround()method. This method will basically download all the Game assets and emit the event that“I have downloaded all the required assets. - Then in the next Line, we have the Subscriber to that event which will hide the Loader screen and starts the game by calling Game service.
Inside theAppServiceclass, will do all the loading stuff, So open the app.service.ts and write down the below code.
=>Now if you see, inside theAppServiceclass, we are a calling another method to theGameServiceclass.
=>This because I wanted to keep the Game Assets loading and Other game related method/function in one class.
=>We will write more code into this file when we will add controls to play the game.
app.service.ts:
/**
    Building a 2D racing Game using Angular
    @auther Shashank Tiwari
*/import { Injectable, EventEmitter } from '@angular/core';
import { GameService } from './game.service';

@Injectable()
export class AppService {

isImageLoaded: EventEmitter<number> = new EventEmitter();
constructor(private gameService: GameService) { }

createPlayGround(canvasElement): void {
this.gameService.loadAssets(canvasElement).then( (image) => {
this.isImageLoaded.emit();
});
}

getImageLoadEmitter() {
return this.isImageLoaded;
}
}
Explanation:
- In the above code, we have used Event emitter to send updates.
- Inside the
createPlayGround()method, we are calling theloadAssets()method where we will load our Image. - The
loadAssets()method expect one parameter i.e. instance of Canvas Element. - Once the Promise completes, the
createPlayGround()method calls theemit()method.
Now the last piece of the puzzle is GameService class, where we will finally load the Image. Open the game.service.ts and write down the below code,
game.service.ts:
/**
    Building a 2D racing Game using Angular
    @auther Shashank Tiwari
*/import { Injectable, Input } from '@angular/core';

import * as CONFIG from './../config/config';

@Injectable()
export class GameService {

@Input() public width: number = CONFIG.playGroundWidth;
@Input() public height: number = CONFIG.playGroundHeight;

context: CanvasRenderingContext2D;
image: HTMLImageElement = null;
gameLoop =  null;

loadAssets(canvasElement: HTMLCanvasElement): Promise<void>  {
this.context = canvasElement.getContext('2d');
canvasElement.width = this.width;
canvasElement.height = this.height;
return new Promise((resolve, reject) => {
this.image = new Image();
this.image.src = CONFIG.spritePath;
this.image.width = 58;
this.image.height = 128;
resolve();
});
}

    startGameLoop() {
this.gameLoop = setInterval(() => {

            /**
            ---
            ---
            Code to start the game
            ---
            ---
            */
}, 10);
}
}
Explanation:
- In the above code, we have three important things to pay attention.
- First Inside the
loadAssets()method, we are setting up the height and width of Canvas Element. - Then we are returning the Promise, which basically Loads the Game Sprite.
- And on the next line we have
startGameLoop()method , which will start the Game Loop.
5. Creating obstacles and Moving them onto the Racetrack
Now let’s start implementing the fun part. So in bird’s eye view, we will create obstacles and we will move them vertically on the Racetrack. Whenever a player collides with any vehicle(obstacle) the game will be over, that’s all.
=>We have already prepared an array of vehicles. We will fetch the random vehicles from that array and we will render them.
=>We will write the code to create and move obstacles inside thegame.service.ts. Open thegame.service.tsand add the below code.
game.service.ts:
/**
    Building a 2D racing Game using Angular
    @auther Shashank Tiwari
*/import { Injectable, Input } from '@angular/core';

import * as CONFIG from './../config/config';
import { Obstacles } from './../interfaces/obstacles';
import { SingleObstacles } from './../interfaces/single-obstacle';

@Injectable()
export class GameService {

@Input() public width: number = CONFIG.playGroundWidth;
@Input() public height: number = CONFIG.playGroundHeight;
frameNumber: number = CONFIG.frameNumber;

context: CanvasRenderingContext2D;
obstacles: Array<Obstacles> = [];
image: HTMLImageElement = null;
gameLoop =  null;

loadAssets(canvasElement: HTMLCanvasElement): Promise<void>  {
this.context = canvasElement.getContext('2d');
canvasElement.width = this.width;
canvasElement.height = this.height;
return new Promise((resolve, reject) => {
this.image = new Image();
this.image.src = CONFIG.spritePath;
this.image.width = 58;
this.image.height = 128;
resolve();
});
}

startGameLoop() {
this.gameLoop = setInterval(() => {
this.suffleProperties();
this.cleanGround();
this.createObstacles();
this.moveObstacles();
}, 10);
}

animationFrame(n: number): boolean {
if ((this.frameNumber / n) % 1 === 0) { return true; }
return false;
}

suffleProperties(): void {
this.frameNumber += 1;
}

createObstacles(): void {
if (this.frameNumber === 1 || this.animationFrame(100)) {
if (this.obstacles.length > 20) {
this.obstacles.splice(0, 5);
}
this.getSingleObstacle();
}
}

getSingleObstacle(): void {
const context: CanvasRenderingContext2D = this.context;
const image: HTMLImageElement = this.image;
const randomVehicle: SingleObstacles = CONFIG.vehicles[Math.floor(Math.random() * CONFIG.vehicles.length)];

this.obstacles.push(new function () {
this.x = Math.floor(Math.random() * 450) + 0,
this.y = Math.floor(Math.random() * -15) + 0,
this.width = randomVehicle.width;
this.height = randomVehicle.height;
this.update = () => {
context.drawImage(
image,
randomVehicle.sX, randomVehicle.sY,
randomVehicle.sWidth, randomVehicle.sHeight,
this.x, this.y,
randomVehicle.width, randomVehicle.height
);
};
});
}

moveObstacles(): void {
this.obstacles.forEach((element: Obstacles, index: number) => {
element.y += 3;
element.update();
this.detectCrash(element);
if (element.y > this.height) {
this.obstacles.splice(index, 1);
}
});
}
}
Explanation:
In the above code, the first thing to notice is that we have written few method calls inside thestartGameLoop()method. Each method will do it’s unique work so let’s understand each of them one by one.
suffleProperties()method, will do just one job here and i.e. to increment the request animation frame.- The
cleanGround()method will basically erase everything from the canvas. createObstacles()method will call thegetSingleObstacle()method according to the animation frame.getSingleObstacle(), we will push the vehicles inside the obstacle array. Each vehicle will be fetched from the config array randomly having randomXandYcoordinate along with the height and width.- These vehicle objects have the update property which is nothing but a function that will then render the vehicle on the canvas.
moveObstacles()method, we will increment the position of the vehicle by adding some value toYcoordinate of the vehicle.
6. Creating the player and Rendering it to the Canvas
Now at this point, if you run the code, you will see vehicles flying all around the canvas. If not troubleshoot your code by comparing it with the source code, then your code should work.
=>As you already aware of that, We have already defined the player’s vehicle object inside theconfig.tsfile.
=>To render player on the screen we have just usedrawImage()function and that’s all.
=>So let’s start, Open thegame.service.tsadd the below line, the PlayerPosition is basically an interface for the payer object.
game.service.ts:
import { PlayerPosition } from './../interfaces/player-position';
=>Now add the below object insideGameServiceclass as a property. We will render the player by using this object. Whenever user will interact with we will change the properties of the player object.
=>While rendering the player we use will this player property and it’sXandYcoordinate.
game.service.ts:
player: PlayerPosition = {
    x: CONFIG.playGroundWidth / 2 - CONFIG.playerCar.width,
    y: CONFIG.playGroundHeight - (CONFIG.playerCar.height + CONFIG.playerCar.height / 2),
};=>Now it’s actually time to render the player on the canvas, by usingdrawImage()function, add the below method in yourGameServiceclass.
=>The below method will be called from thestartGameLoop()method which will basically render the player’s vehicle on the canvas.
game.service.ts:
/**
    Building a 2D racing Game using Angular
    @auther Shashank Tiwari
*/createPlayer(): void {
this.context.drawImage(
this.image,
CONFIG.playerCar.sX, CONFIG.playerCar.sY,
CONFIG.playerCar.sWidth, CONFIG.playerCar.sHeight,
this.player.x, this.player.y,
CONFIG.playerCar.width, CONFIG.playerCar.height,
);
}
7. Handling the User input
Handling use input might feel little complicated to you, but it doesn’t have to be. Here we will keep our component clean and we will write all the things in the services class.
=>Here we will userHostListenerDecorator, This decorator will tell us whenever the user presses a key.Open the app.component.ts and add the below code,
app.component.ts:
/**
    Building a 2D racing Game using Angular
    @auther Shashank Tiwari
*/
@HostListener('document:keydown', ['$event']) onKeydownHandler(event: KeyboardEvent) {
this.appService.movePlayer(event, 'keydown');
}

@HostListener('document:keyup', ['$event']) onKeyupHandler(event: KeyboardEvent) {
this.appService.movePlayer(event, 'keyup');
}=>As you can see above we are using theAppServiceclass by callingmovePlayer()method. So we will add themovePlayer()method in our AppService class.
=>In this Method, we will basically assignbooleanvalues to the properties defined insideGameServiecclass.
app.service.ts:
/**
    Building a 2D racing Game using Angular
    @auther Shashank Tiwari
*/
movePlayer(event: KeyboardEvent, type: string): void {
if (type === 'keydown') {
if (event.keyCode === 37) {
this.gameService.moveLeft = true;
this.gameService.moveUP = false;
this.gameService.moveDown = false;
} else if (event.keyCode === 39) {
this.gameService.moveRight = true;
this.gameService.moveLeft = false;
this.gameService.moveUP = false;
this.gameService.moveDown = false;
} else if (event.keyCode === 38) {
this.gameService.moveUP = true;
this.gameService.moveLeft = false;
this.gameService.moveRight = false;
this.gameService.moveDown = false;
} else if (event.keyCode === 40) {
this.gameService.moveDown = true;
this.gameService.moveLeft = false;
this.gameService.moveRight = false;
this.gameService.moveUP = false;
}
} else if (type === 'keyup') {
this.gameService.moveDown = false;
this.gameService.moveLeft = false;
this.gameService.moveRight = false;
this.gameService.moveUP = false;
}
}=>As I said, a piece of cake isn’t it. Inside theGameServiceclass, we will use these properties to move the positions of the players. The idea here is to use these variables inside theif else loopand based on that we would move the player’s vehicle.
=>In the code, you can see we have done calculations and then we have usedCONFIG.playerCarSpeedproperty to move the vehicle in respected direction.
=>Open thegame.service.tsand modify thecreatePlayer()method as shown below,
game.service.ts:
/**
    Building a 2D racing Game using Angular
    @auther Shashank Tiwari
*/
createPlayer(): void {
if (this.moveUP) {
if (this.player.y === 0) {
this.player.y = 0;
} else {
this.player.y -= CONFIG.playerCarSpeed;
}
} else if (this.moveDown) {
if (this.player.y + CONFIG.playerCar.height === CONFIG.playGroundHeight ||
this.player.y + CONFIG.playerCar.height > CONFIG.playGroundHeight) {
this.player.y = CONFIG.playGroundHeight - CONFIG.playerCar.height;
} else {
this.player.y += CONFIG.playerCarSpeed;
}
} else if (this.moveLeft) {
if (this.player.x === 0 || this.player.x < 0 ) {
this.player.x = 0;
} else {
this.player.x -= CONFIG.playerCarSpeed;
}
} else if (this.moveRight) {
if (this.player.x + CONFIG.playerCar.sWidth === CONFIG.playGroundWidth ||
this.player.x + CONFIG.playerCar.sWidth > CONFIG.playGroundWidth) {
this.player.x = CONFIG.playGroundWidth - CONFIG.playerCar.width;
} else {
this.player.x += CONFIG.playerCarSpeed;
}
}
this.context.drawImage(
this.image,
CONFIG.playerCar.sX, CONFIG.playerCar.sY,
CONFIG.playerCar.sWidth, CONFIG.playerCar.sHeight,
this.player.x, this.player.y,
CONFIG.playerCar.width, CONFIG.playerCar.height,
);
}
8. Detecting the Crash with obstacles
Now the last piece of the puzzle is crash detection, and it’s the final part of the application. Here we will check that the position of player’s vehicle collide with any obstacle or not, if it does we will stop the game and notify the user.
=>To determine the collision we will checkXandYcoordinate of the player’s vehicle along with the height and width. Open thegame.service.tsfile and add the below code,
game.service.ts :
/**
    Building a 2D racing Game using Angular
    @auther Shashank Tiwari
*/
detectCrash(obstacle: Obstacles ): void {

const componentLeftSide = obstacle.x;
const componentRightSide = obstacle.x + obstacle.width;
const componentTop = obstacle.y;
const componentBottom = obstacle.y + obstacle.height;

const carRightSide = this.player.x + CONFIG.playerCar.width;
const carLeftSide = this.player.x;
const carTop = this.player.y;
const carBottom = this.player.y + CONFIG.playerCar.height;

if ((
(carRightSide > componentLeftSide) && (carTop < componentBottom)
) && (
(carLeftSide < componentRightSide) && (carTop < componentBottom)
) && (
(carRightSide > componentLeftSide) && (carBottom > componentTop)
) && (
(carLeftSide < componentRightSide) && (carBottom > componentTop)
)
) {
clearInterval(this.gameLoop);
alert('Game Over');
window.location.reload();
}
}
Explanation:
- In the above code, we first pull out the vehicle’s and each obstacle’s
XandYposition including height and width. - After calculating the points we basically add compare them with the obstacle’s position.
- And for the sake of clarity and understanding, we will store these position into a different variable and then we will use them for comparison.
Do let me know if you have any query in this section.
Conclusion
That was the end of this article, in this article we learned how to interact with Canvas using Angular. Let’s take a cursory glance what we accomplished in this article, First We understood how to interact with Canvas using Angular. Second, we created a game using Angular along with the collision detection. The last thing is that we used theHostListenerDecorator to move the player’s vehicle.
So for now that’s it, I’ll see you in my next article if you like this article do consider sharing with others. Also, you find any issue you can report it onGitHub.