In this tutorial, I am going to talk about sending an e-mail with GoLang. Sending an email is very common in the business of software. For example, you need to send emails for account verification, password recovery, and Payment Receipt.
So let’s start with the tutorial and by the end, you will have GoLang application which can send e-mails to any account.
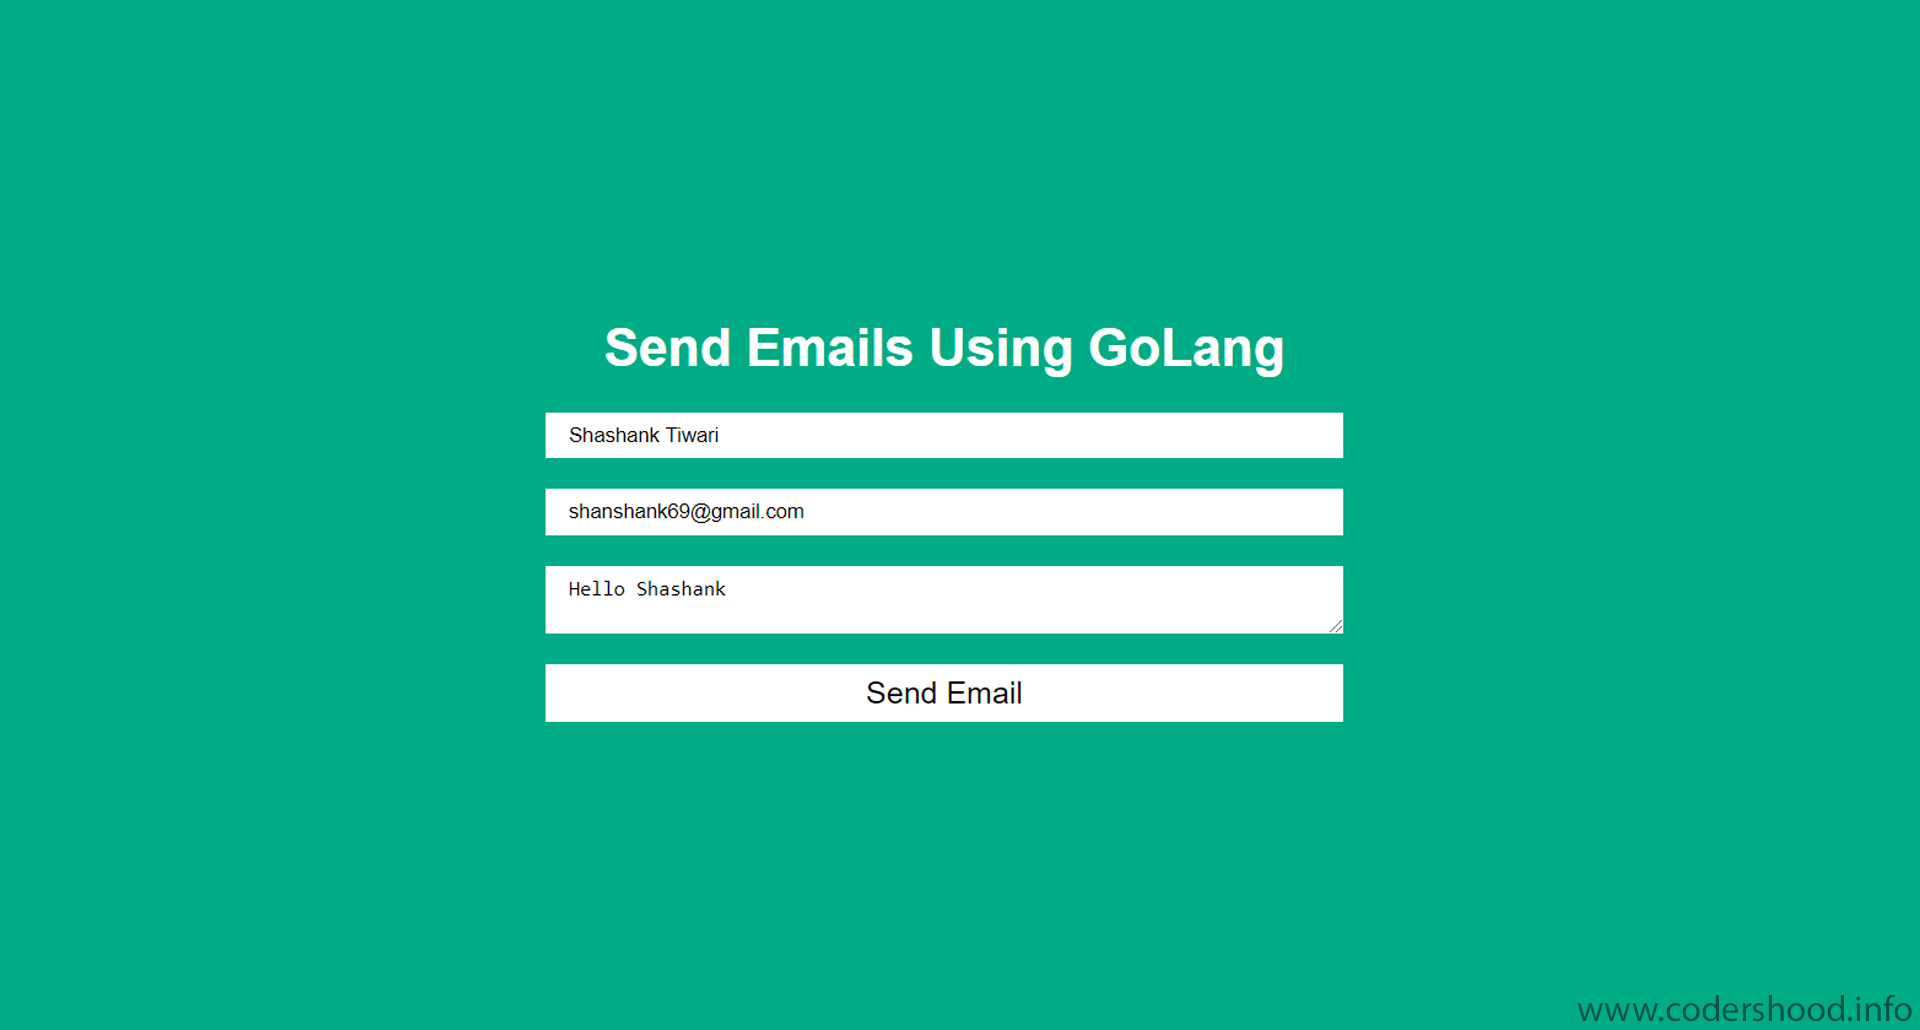
Before we start coding, let’s first see the final outcome of the application.
After completing the implementation you can test the APIs using Postman or just a Simple Curl. For example, this is the Curl request for/sendEmail API,
curl -X POST \
    http://localhost:8000/sendEmail \
    -H 'Connection: keep-alive'
    -H 'Sec-Fetch-Dest: empty'
    -d '{
            "name":"Shashank Tiwari",
            "email":"shanshank69@gmail.com",
            "message":"Hello Shashank"
        }'
And the response of /sendEmail API is shown below,
{
    "Code": 200
    "Message": "You email is sent, check your outbox."
    "Response": null
}
1. Understanding the project structure
Here we will give a very little bit of styling to our web application just to make it look presentable. And we won’t be using any frontend libraries or frameworks, for the sake of simplicity.
Since we are using plain Javascript and there is not much on the client-side to understand, hence we will focus on the Backend part only. Inside theviewsfolder, we will write down the MARKUP.
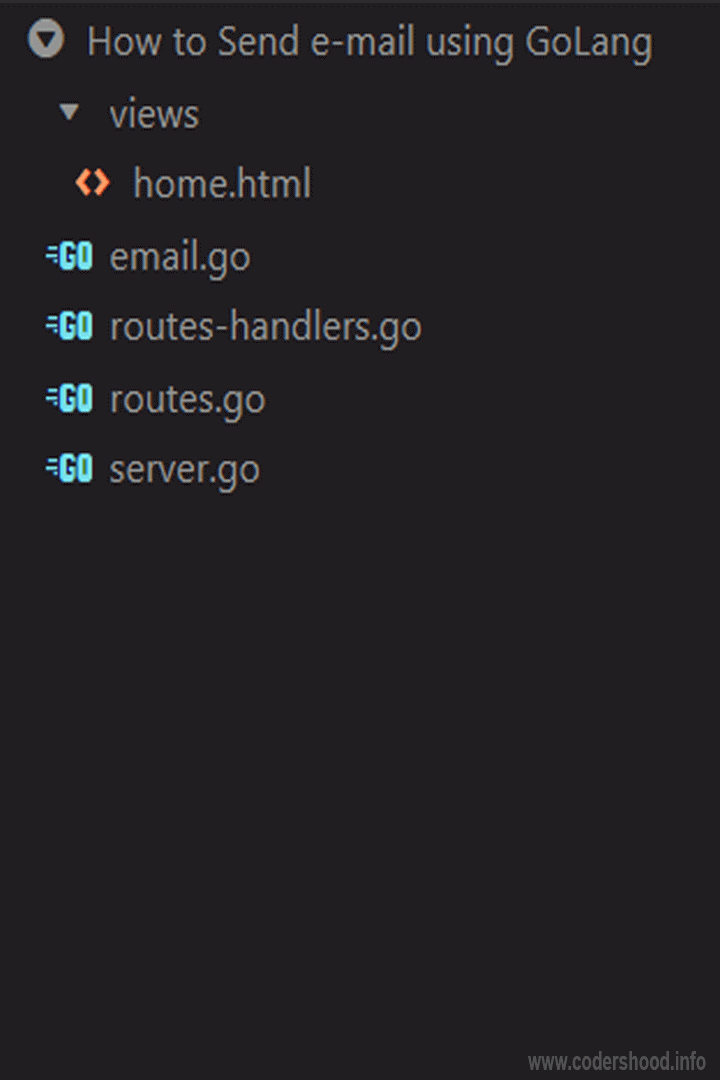
Apart from the public folder we have only go files, let’s understand the purpose of each file why we need them.
db.go:The file will have code to connect the Redis database.
routes-handlers.go:This file will have the actual logic of the application. Here we will write code to store the Hash Key with the actual URL and the Redirection Logic will be handled here only.
routes.go:As the name suggests, this file will contain the endpoints that we will define in this application.
email.go:In this file, we will function to send emails.
server.go:To create the Golang server we will use server.go file.
2. Creating a GoLang Server
Create aserver.goin the root of the project, which will be our entry point for the project. Here we will make a connection with the MongoDB database and we will define our application routes.
=>Inside themain() function, First we are printing some information.
=>In the next line, we will create route variable, which will hold Route instance.
=>Then AddApproutes() function register application routes.
=>And at the end, using http.ListenAndServe() we will start our GO server.
server.go:
package main

import (
    "log"
    "net/http"

    "github.com/gorilla/mux"
)

func main() {

    log.Println("Server will start at http://localhost:8000/")

    route := mux.NewRouter()

    AddApproutes(route)

    log.Fatal(http.ListenAndServe(":8000", route))
}
3. Adding GoLang routes in the application
Create aroutes.goin the root of the project, Here we will register application routes. Here we will use gorilla/mux package to register routes.
=>Then AddApproutes() function will register all the routes in the application. Here we have only one route to add which will be used by the FrontEnd javascript.
=> /sendEmail API will call the SendMail function to send emails
routes.go:
package main

import (
    "log"

    "github.com/gorilla/mux"
)

// AddApproutes will add the routes for the application
func AddApproutes(route *mux.Router) {

    log.Println("Loadeding Routes...")

    route.HandleFunc("/", RenderHome)

    route.HandleFunc("/sendEmail", SendEmail).Methods("POST")

    log.Println("Routes are Loaded.")
}
Now let’s write SendEmailHandler() function in route-handler.go file. Which will handle all the requests coming for /sendEmail API.
In below code, we will handle the validation for the /sendMail API before sending Actual Email. Create route-handler.go file in the root of the project and write below code,
route-handler.go:
package main

import (
    "encoding/json"
    "log"
    "net/http"
)

type emailParamsStruct struct {
    Name    string `json:"name"`
    Email   string `json:"email"`
    Message string `json:"message"`
}

type errorResponseStruct struct {
    Code    int
    Message string
}

type successResponseStruct struct {
    Code     int
    Message  string
    Response interface{}
}

// RenderHome Rendering the Home Page
func RenderHome(response http.ResponseWriter, request *http.Request) {
    http.ServeFile(response, request, "views/home.html")
}

// SendEmailHandler Will be used to send emails
func SendEmailHandler(response http.ResponseWriter, request *http.Request) {
    var emailRequest emailParamsStruct
    var errorResponse = errorResponseStruct{
        Code: http.StatusInternalServerError, Message: "It's not you it's me.",
    }

    decoder := json.NewDecoder(request.Body)
    decoderErr := decoder.Decode(&emailRequest)
    defer request.Body.Close()

    if decoderErr != nil {
        returnErrorResponse(response, request, errorResponse)
    } else {
        errorResponse.Code = http.StatusBadRequest
        if emailRequest.Email == "" {
            errorResponse.Message = "Email can't be empty"
            returnErrorResponse(response, request, errorResponse)
        } else if emailRequest.Name == "" {
            errorResponse.Message = "Password can't be empty"
            returnErrorResponse(response, request, errorResponse)
        } else if emailRequest.Message == "" {
            errorResponse.Message = "Message can't be empty"
            returnErrorResponse(response, request, errorResponse)
        } else {

            log.Println(emailRequest)

            var to = []string{
                emailRequest.Email,
            }

            sent, err := SendEmail(emailRequest.Message, to)

            log.Println(sent)

            log.Println(err)

            if err != nil && !sent {
                errorResponse.Message = "It's not you it's me."
                returnErrorResponse(response, request, errorResponse)
            } else {
                var successResponse = successResponseStruct{
                    Code:    http.StatusOK,
                    Message: "You email is sent, check your outbox.",
                }

                successJSONResponse, jsonError := json.Marshal(successResponse)

                if jsonError != nil {
                    returnErrorResponse(response, request, errorResponse)
                }
                response.Header().Set("Content-Type", "application/json")
                response.Write(successJSONResponse)
            }
        }
    }
}

func returnErrorResponse(response http.ResponseWriter, request *http.Request, errorMesage errorResponseStruct) {
    httpResponse := &errorResponseStruct{Code: errorMesage.Code, Message: errorMesage.Message}
    jsonResponse, err := json.Marshal(httpResponse)
    if err != nil {
        panic(err)
    }
    response.Header().Set("Content-Type", "application/json")
    response.WriteHeader(errorMesage.Code)
    response.Write(jsonResponse)
}
Explanation:
- First, we have
importsandstructsdefined inside the file. - Then the
RenderHome()function will render the home page, from where we will initiate the Email Request. - The
SendEmailHandler()function will validate the request and call theSendEmail()function will eventually trigger email request.
4. Sending e-mail using GoLang
Create aemail.goin the root of the project, Where we will create SendEmail() function. This function will use the smtp package of the GoLang to send Emails.
=> The below code will send the emails and returns the true/false based on the error received while sending emails. Here I am using ethereal email for testing, you can use email server you would like.
email.go:
package main

import "net/smtp"

const (
    fromAddress       = "********"
    fromEmailPassword = "********"
    smtpServer        = "smtp.ethereal.email"
    smptPort          = "587"
)

// SendEmail will send email to given address
func SendEmail(message string, toAddress []string) (response bool, err error) {

    var auth = smtp.PlainAuth("", fromAddress, fromEmailPassword, smtpServer)
    err = smtp.SendMail(smtpServer+":"+smptPort, auth, fromAddress, toAddress, []byte(message))

    if err == nil {
        return true, nil
    }
    return false, err

}
Explanation:
- First, we have defined
constantneeded to send emails, these constant have SMTP server details and an email account credentials from where we will send emails. - The
SendEmail()function takes two parameters, The first parameter is amessageand the second parameter istoAddresswhich is an array of emails. - Then we create the
authvariable, which will be used form authenticating the email account while sending emails. - With the
auth,messageandtoAddressthesmtp.SendMailfunction will send the emails. - The
smtp.SendMailfunction, in return, gives error if anything goes wrong, based that we return bool values.
5. Implementing the frontend
For the front end, I haven’t used any frameworks or libraries since it was a very small application. So here we will use VanillaJs. The most important part of the front end is making an Ajax Call which will trigger the email API.
Here is a markup of home.html, which is stored inside the views folder.
home.html:
<!DOCTYPE html>
<html>
<head>
    <meta http-equiv="Content-Type" content="text/html; charset=utf-8" />
    <style>
        body {
            font-family: 'Helvetica', sans-serif;
            color: #fff;
            margin: 0px;
            padding: 0px;
            background-color: #00ac85;
            width: 100%;
            height: 100vh;
            display: flex;
            flex-direction: column;
            justify-content: center;
        }

        .app__container {
            width: 520px;
            display: flex;
            flex-direction: column;
            margin: auto;
        }

        h1 {
            text-align: center;
            font-size: 34px;
        }

        .app__container input,
        .app__container textarea {
            padding: 7px 15px;
            margin-bottom: 20px;
            border: 0px;
            outline: none;
        }


        button {
            margin: auto;
            background: #fff;
            text-align: center;
            padding: 7px 15px;
            font-size: 20px;
            text-decoration: none;
            color: #000;
            font-weight: 400;
            border: 0px;
            width: 100%;
            outline: none;
        }
    </style>
</head>
    <body>
        <div class="app__container">
            <h1>Send Emails Using GoLang</h1>

            <input id="name" class="form-control" placeholder="Name"/>

            <input id="to" class="form-control" placeholder="Email" />

            <textarea id="message" class="form-control" placeholder="Message"></textarea>

           <button id="email-button">Send Email</button>
        </div>
    </body>
    <script>
        const sendEmailButton = document.querySelector('#email-button');

        sendEmailButton.onclick = (event) => {
            const nameInput = document.querySelector('#name');
            const toEmailInput = document.querySelector('#to');
            const messageInput = document.querySelector('#message');

            if(!nameInput.value) {
                alert("Name is empty");
            } else if(!toEmailInput.value) {
                alert("Email is empty");
            }else if(!messageInput.value) {
                alert("Message is empty");
            } else {
                fetch(`/sendEmail`, {
                    method: 'POST',
                    headers: {
                        'Content-Type': undefined
                    },
                    body: JSON.stringify({
                        name: nameInput.value.trim(),
                        email: toEmailInput.value.trim(),
                        message: messageInput.value.trim()
                    })
                })
                .then((resp) => resp.json())
                .then((result) => {
                    if(result.Code === 200) {
                        alert(result.Message);
                    } else {
                        alert(result.Message)
                    }
                })
                .catch((error) => {
                    alert(error.Message)
                });
            }
        };
    </script>
</html>
Explanation:
- In the above markup, we take three inputs from the User Name, Email address, and Message.
- After that, we are javascript code, which gets executed when the user will click on Submit.
- In The Javascript code, first, we validate the user’s input and we make an ajax call to send the email.
- The Ajax call makes an HTTP request to
/sendEmail, which eventually triggers the email.
6. Conclusion
Now we have reached the end of the article, this is the section we discussed what we have done till now in this article. In this article, we studied How to Send e-mail using GoLang and wrote a small program to demonstrate the same. For now, that’s it and I will see you in the next article. In case of any question or doubt feel free to comment below.